Simply connect Magento 2

With the help of the following information you can easily connect Magento 2 and quickly start sending and receiving your orders. With the push of a button you can send & receive documents, packages and pallets with the most suitable carrier.

Would you like to receive more information first? Then read here further. If you are looking for the Magento 1 user manual, you will find it here.

Simply connect Magento 2

Using the following information, you can easily link Magento 2 and quickly get started with sending and receiving your orders via the Wuunder shipping module. At the touch of a button you can send & receive documents, parcels and pallets with the most suitable carrier. This can be done per order or you can import all orders in bulk.

Would you like to receive more information first? Then read here further. If you are looking for the Magento 1 user manual, you will find it here.

Icon: Magento 2
MAGENTO 2 LINK
  • Connect your webshop to Wuunder using an API connection
  • Receive Track and Trace information in your webshop after the shipment has been booked
MAGENTO 2 SHIPPING MODULE
  • The Magento2 shipping module is suitable for version 2.3+. Are you working with a different version or is the pairing not successful? Please contact us customer service.
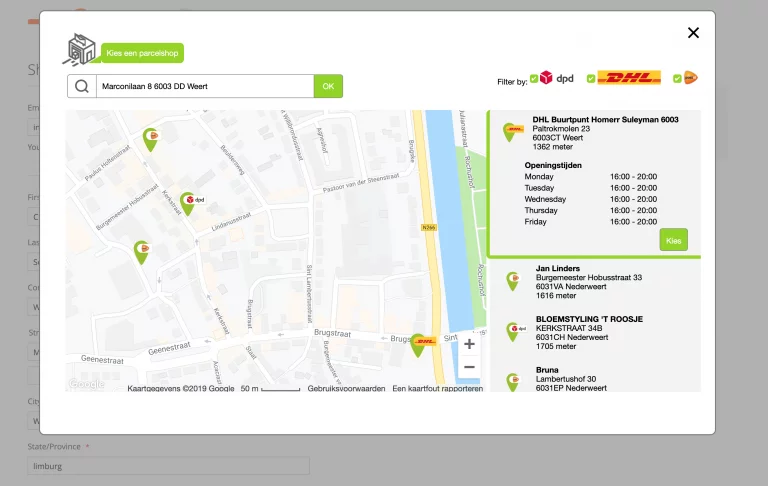
  • De OneStepCheckout can of course be used.
  • Wuunder has both a test and production environment. We recommend that you test the operation of your shop thoroughly in the test environment before going live. Activate the test environment through this link.
  • Make a backup of your webshop and download the Magento 2 plug-in via the Magento 2 marketplace.
  • Do you see opportunities for improvement? Let us know via the Magento 2 marketplace.

Magento 2 configuration

Step 1 - On your Magento2 dashboard, click on the left side of the screen Stores and then on Configuration .

Magento 2 setup

Step 2 - Then click on “Wuunder” and then on “Wuunder_Wuunderconnector”. At the field Enable Connector you choose "Yes". If you don't plan to test, choose "Do not" at the field "Test mode". In the field Live API key enter the production API key in the field Test API Key enter the staging API key that you received from Wuunder. read here more about the test / production environment and requesting the API keys.

Step 3 - Then complete the company details. You can also leave this data blank and standard pick-up addresses use.

  • Provide the company name and address where the shipments are to be collected by the carrier (s). The information you enter here will be visible on the shipping label, so that the driver of the carrier knows where the shipments must be picked up and delivered (returns).
  • The email address you use here will also receive all the labels you create. This can be, for example, the email address of the warehouse that prepares the shipments.
Magento 2 Wuunder settings
Step 4 - Then scroll down until you get the cup Advanced settings see. Select at “Set order status after booking to:”What status you want to give to an order after you have created a shipping label. For example, in the example we choose 'Complete'.

Step 5 - After you have booked a shipment with Wuunder, we automatically update the status of your order in Magento. You can determine the status yourself after booking via the drop-down menu “Set order status after booking to”. Usually shops choose the status “Complete”.

Step 6 - Via the dropdown at the back “Wuunder filter: # 1 Transporter” you can select which options you give to your customer in the check-out. If you want to know which services you can use, go to Wuunder filters. Enter the name of the service you want to use in the check-out, such as: dpd or dhl_parcel. When booking the shipment, we show the chosen service by the customer with a blue dot.

Step 7 - For webshop developers we have another trick that gives you a faster insight into the operation of the Wuunder module. Move “Set order status after booking to” op "Yes" if you want to get these extra notifications. In all other cases, leave it on "Do not" stand.

Step 8 - When all details have been entered, click at the bottom of the screen Save Config. The plugin is now configured!

Step 9 - Now go to your shop and test if everything is still working properly. Magento is an open source platform so it can sometimes happen that the plug-in conflicts with already installed plug-ins. If you don't need the other plugins, it's best to remove them.

Please note!
Our plug-in is made on the basis of the standard check-out page of the webshop environment. As a result, when changes are made and / or a plug-in is used for the check-out, our plug-in no longer functions properly. So keep this in mind if the standard check-out page has been adjusted or a completely different one is used.

Shipping methods & parcelshop locator configuration

Step 1 - To adjust the shipping methods in the check-out as desired, go from your Magento dashboard on the left side of the screen Stores and then on Configuration.

Step 2 - Then scroll down until you see the cup "Sales" see on the left side of the screen. Then click on Shipping Methods. Here you can adjust settings per shipping method.

Magento 2 Wuunder settings

Step 3 - With the shipping method Wuunder Shipping Method you choose at the field "Enabled" about this "Yes" to have your customers sent directly to a parcelshop of your choice during check-out (! Please note that the Parcelshoplocator only works for the Netherlands). In the field Title you can give a name to the shipping method. In the field Method Name please give a sub-name to the shipping method. These names can then be seen during the checkout of a product in your store. By the cup Enabled carriers choose the desired carriers such as: dpd, dhl_parcel or postnl. Then you decide how to show these carriers in your check-out in the field Method name. You can now apply fixed shipping costs or a handling fee that is added to the total amount of each order. Finally, you can limit the number of countries you want to ship to.

Step 4 - When all data has been changed, click on the top right of the screen Save Config. The shipping methods are now configured! Check carefully whether each shipping method is linked to a transport filter under the heading "Wuunder activated shipping methods" in the setting menu (see Magento 2 configuration).

Step 5 - Once you have set up the shipping methods and plug-in, you can test if your check-out looks as expected. Magento is an open source platform, so it can sometimes happen that the plug-in conflicts with already installed plug-ins. If you don't need the other plugins, it's best to remove them.

Give your customer a wide choice in your magento checkout

Step 1 - In the Magento checkout, you will see the configured shipping methods in step 4.

Magento 2 shipping methods

Step 2 - Via "Click here to select your Parcelshop" opens the Wuunder Parcelshop Locator.

Step 3 - In the Wuunder Parcelshop Locator you can filter for various services, such as: DPD, DHL Parcel and PostNL. After you click on a parcel shop you will see the opening hours of the parcel shop. After this you can choose the desired parcel shop by pressing "Choose" to click.

Magento 2 parcel shop locator

Send orders manually via magento 2

Step 1 - There are two ways to send your orders: hother per order or all outstanding orders at the same time; in other words in Bulk books. Bulk booking is especially interesting if you want to send a lot of orders (see next paragraph). To manually book an order, go to your Magento2 dashboard, first click on the left side of the screen "Sales" and then on "Orders".

Magento 2 orders

Step 2 - Click behind an order on the green icon under “Wuunder”. You can only generate shipping labels for shipments you create after installing the plug-in. These orders are provided with the necessary shipping information by the Wuunder module. Send all old orders by re-creating an order in Magento2 or booking them via MyWuunder or for Wuunder browser or for Google Chrome extensionIf you are still testing the module, read here more about the test environments.

Magento 2 order overview

Step 3 - After this we will check your submitted data and you can book the shipment. Read here More.

Step 4 - You will then return to the order overview of Magento. At this moment we update your shop with the shipment number, the track & trace URL and the name of the carrier. This also allows you to use systems such as Channable of Channel engine of justfeed.

Step 5 - You can then print the shipping label directly from your shop. Would you like more information about quickly printing your shipping labels or printing a shipping label by scanning a packing slip? Then click here. Return a shipment? This is very easy. Read more through this link.

Step 6 - By clicking on the green Track & trace icon in the order overview of Magento you can also track the shipment. In MyWuunder you can easily see the latest status of each shipment and you can quickly identify possible issues.

Automatically book many orders at the same time with magento 2

Did you know?
You can also use Wuunder without installing our integration / plugin. You can do this through the following steps. Please remember that you cannot use our check-out and parcel shop locator.

Step 1 - For Bulk booking, go to the Settings menu of MyWuunder (green dropdown menu). Here you set one Default service, volume and weight if this data is not received through StoreSync. You will discover everything about the standard values here.

Link Magento 2 shop

Step 2 - Then go to it Integrations overview in the gray bar under the green drop-down menu. Please select "New".

Magent 2 shop linking

Step 3 - Then select "Magento 2".

Link Magento 2 shop

Step 4 - You can now name the Integration so that you know later which data you are going to import. The base url is the URL of your Magento2 installation, for example https://jouwdomein.com/magento2.

Step 5 - By default we import all orders that have the status “pending”. If you have created your own status code yourself, you can indicate it here. We import any desired status. 

Step 6 - To find your Access token, go to your Magento2 dashboard and click on the left side of the screen "System" and then on Integrations.

Magento 2 integration

Step 7 - Then click at the top right of the screen Add New Integration".

Magento 2 integrations

Step 8 - Give the integration a name and for the rest only enter your admin password from Magento2 Your Password. Then click on top right "Save".

Magento 2 integration

Step 9 - Click on the API sub menu under BASIC SETTINGS. The menu from the image below appears. Check the rights below (View and Edit on orders). Then click on Save.

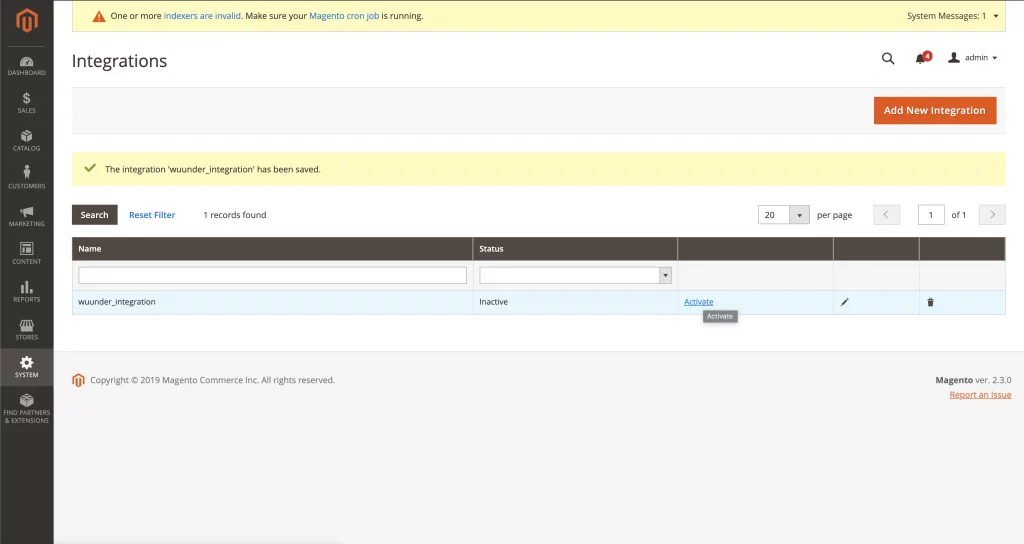
Step 10 - Now click behind the new integration "Activate".

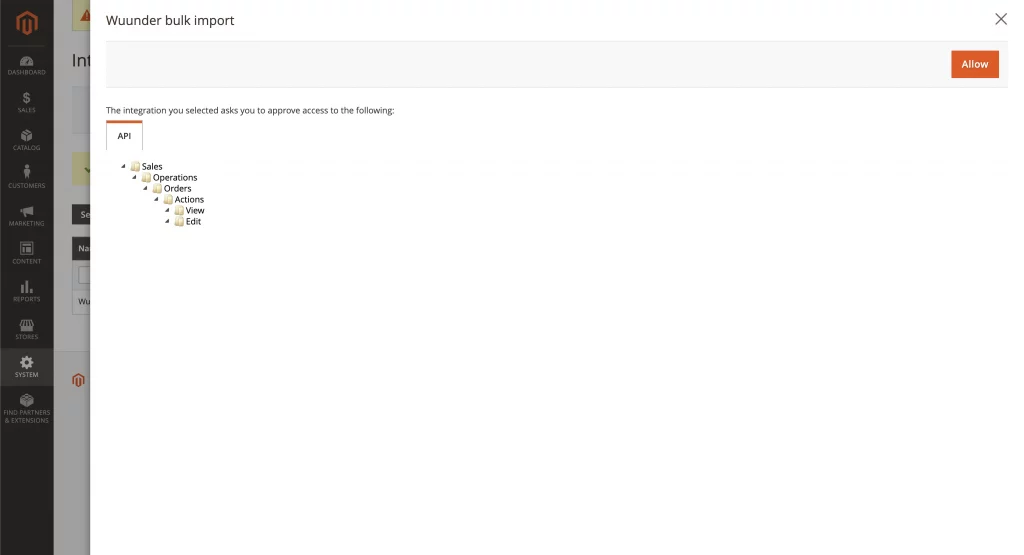
Step 11 - Click at the top right of the screen "Allow".

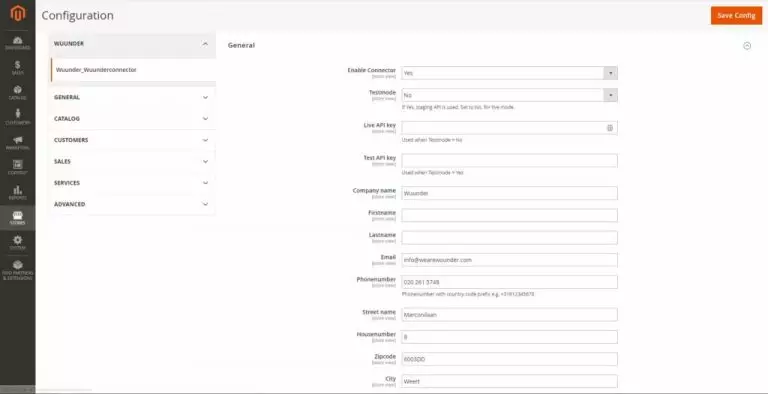
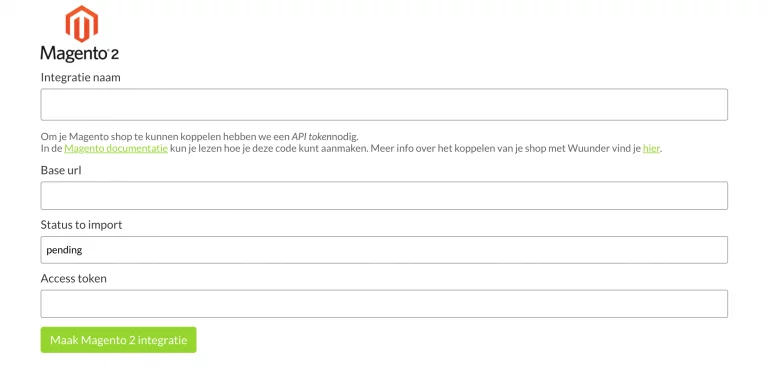
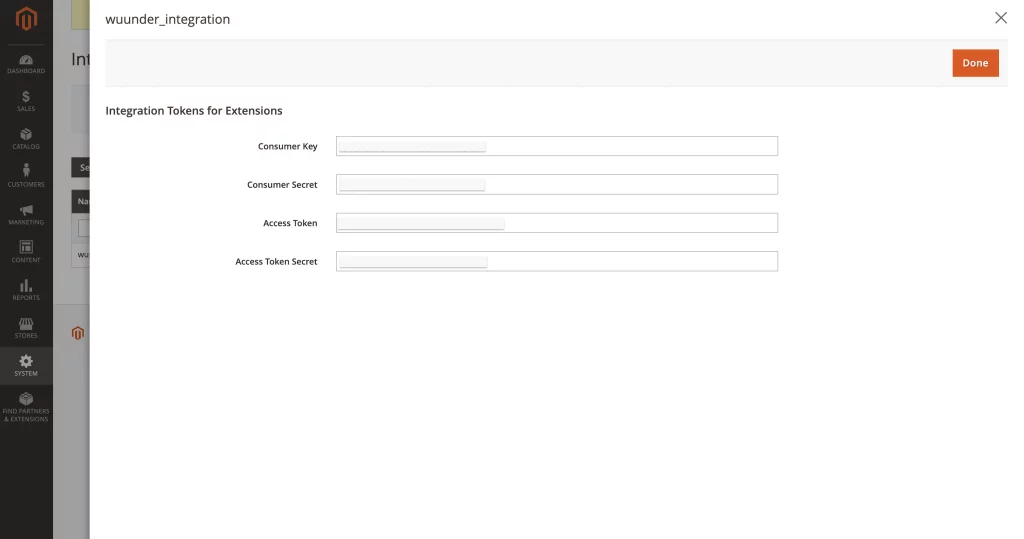
Step 12 - You will now receive your unique Tokens and Keys. Copy your "Access Token" and then go back to MyWuunder to get the complete integration.

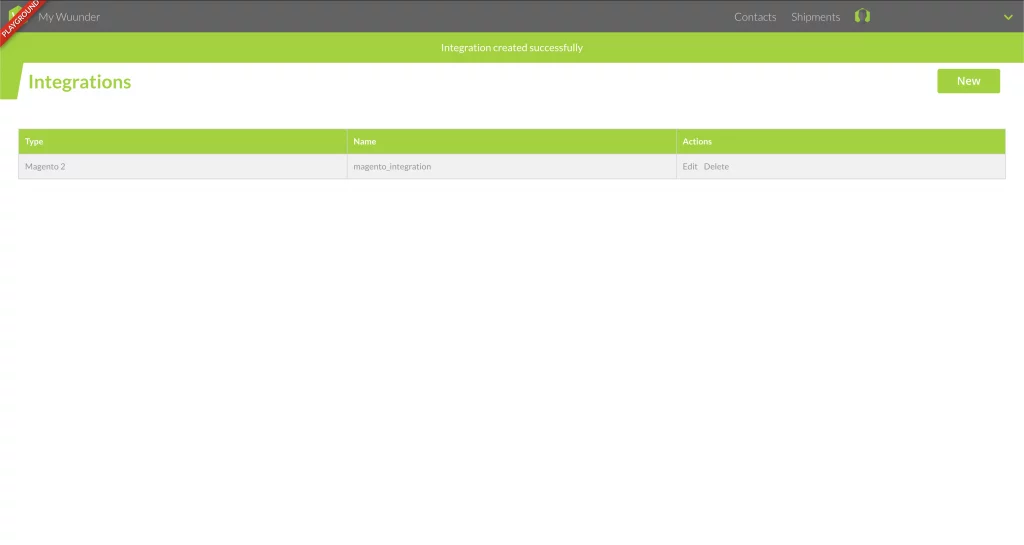
Step 13 - Hooray! Now you have created the Magento 2 integration!

Step 14 - If you want to connect multiple shops, repeat these steps until all shops are linked.

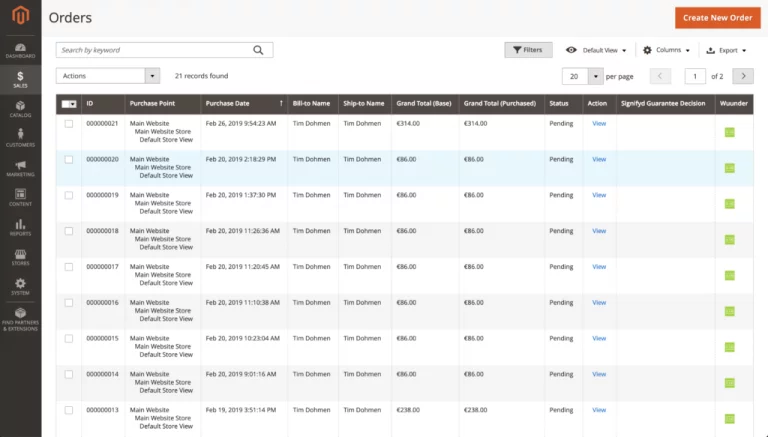
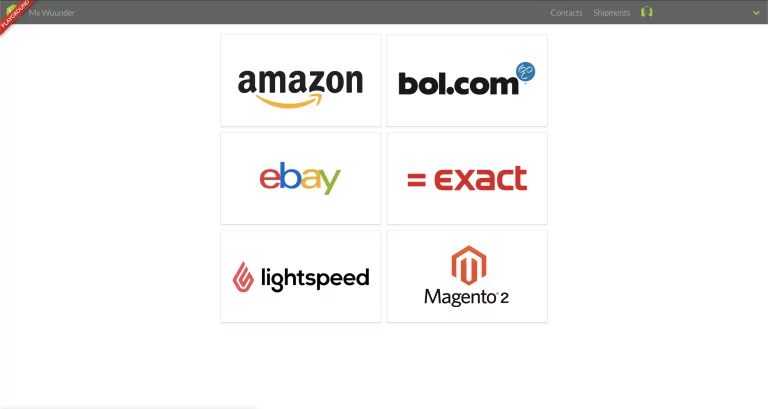
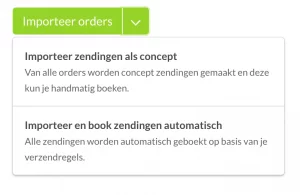
Step 15 - Then go to the top gray bar Shipments overview and select “Book”. This is the place where you can book all your new shipments. Select “Import” and then the desired “Magento2” shop.


Step 16 - You now have two choices (dropdown menu in the green button):

  • Import all orders as a concept: You import all orders and then book them all at once of per Unit.
  • Import and book all orders automatically: You import and book all orders at once. The latter option is particularly interesting if you are using import rules en shipping rules works.
Import Bol.com shipments
  • More information about the checks we perform and possible error messages such as the lack of a collection address can be found via this one link.
  • After you have booked an order in MyWuunder, we update the status in Magento. We also update your order details in your shop with the shipment number, the track & trace URL and the name of the carrier. This means that your order overview in your shop is always up-to-date. Systems such as Channable of Channel engine of justfeed can also use this data again.
  • An overview of all booked shipments can be found in the "Book" overview. Here you can, for example, also copy the details of a booked shipment to send another shipment. An overview of all shipping labels can be found in the "To prepare" overview.
  • If you want to print all shipping labels quickly, you will find here all info.
  • By clicking on the green Track & trace icon in the order overview of Magento you can also follow the shipment. In MyWuunder you can easily see the latest status of each shipment and you can quickly identify possible issues.
  • Return a shipment? This is very easy. Read more through this link.

Contents manual

overview of action buttons

Use the action buttons in your order overview of Magento to work more efficiently. You can easily book shipments, print labels and send via the action buttons.

Status

Icon

More information

Books

Icon: copy

If you click on this icon you will enter MyWuunder where you can book the shipment directly.

Booking started

Icon: label sent

Your shipment has been sent to MyWuunder via bulk books. In the draft environment of MyWuunder, the order is ready to be booked.

Print

Icon: Pending printing

You can print in various ways and of course also in your shop environment itself. If you press this button, you print the shipping label associated with the order.

Follow

Icon: In transit

You can go directly to the carrier's page to track a shipment from your shop. It is even easier to track a shipment via the "Send overview" in MyWuunder.

Linking a Magento2 webshop is super easy and consists of two steps.

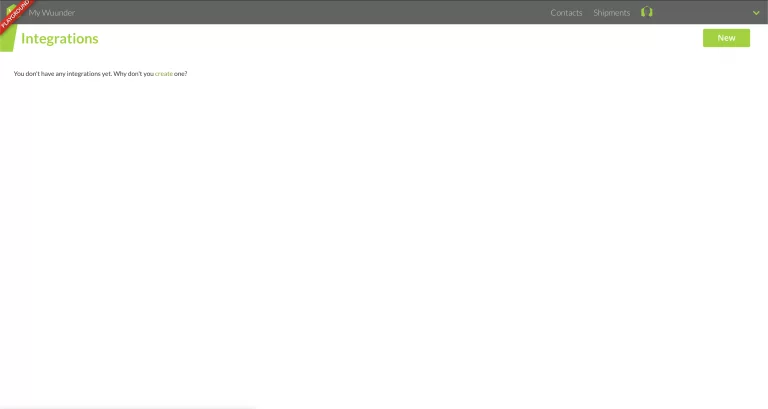
STEP 1: Create MyWuunder account

Go to MyWuunder and create an account.


STEP 2: Create API token

To be able to import orders from your webshop into MyWuunder, we need access to your webshop. You can create these API tokens using the manual below.
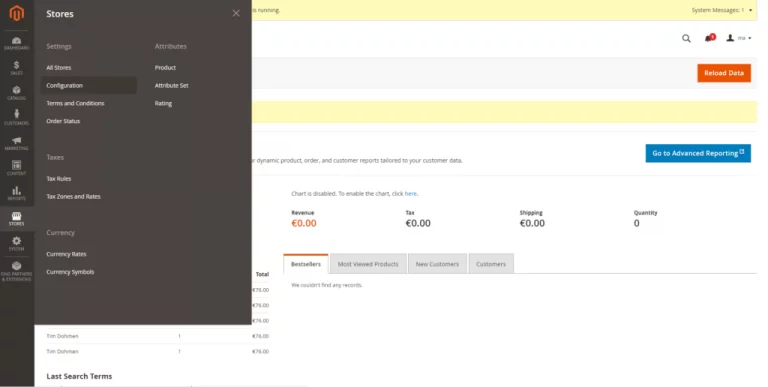
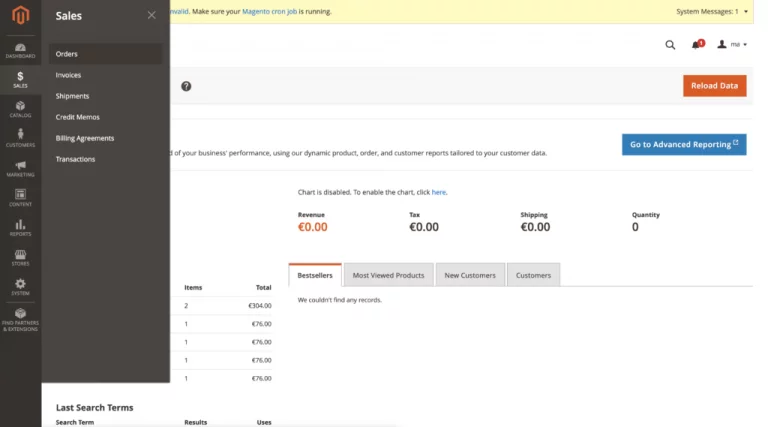
– Log in to the admin area of ​​your Magento2 webshop.
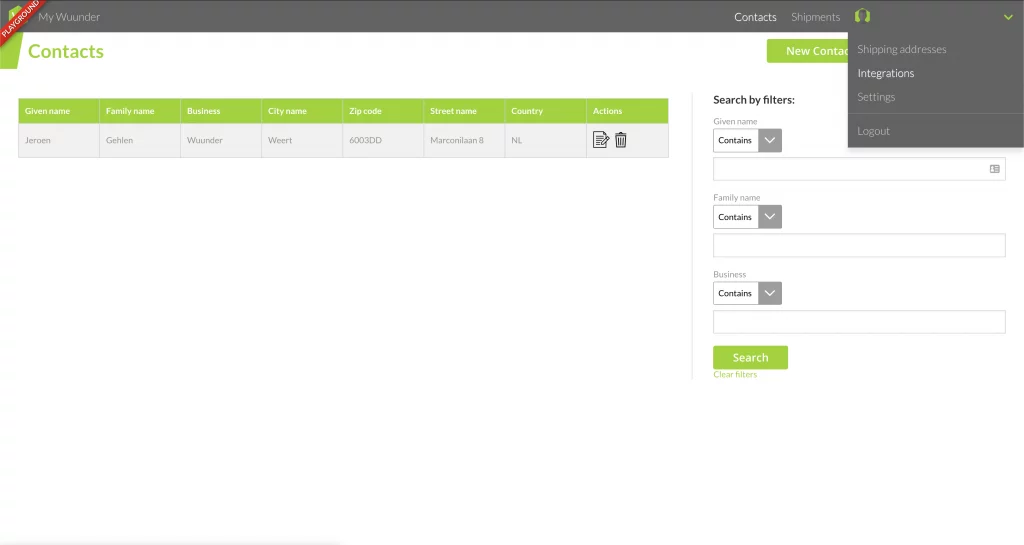
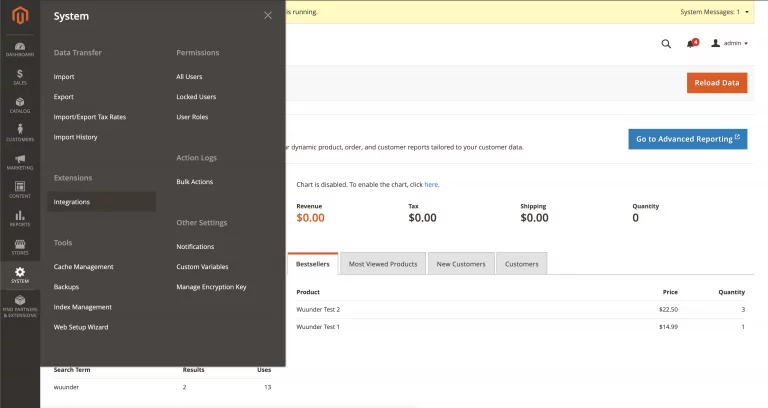
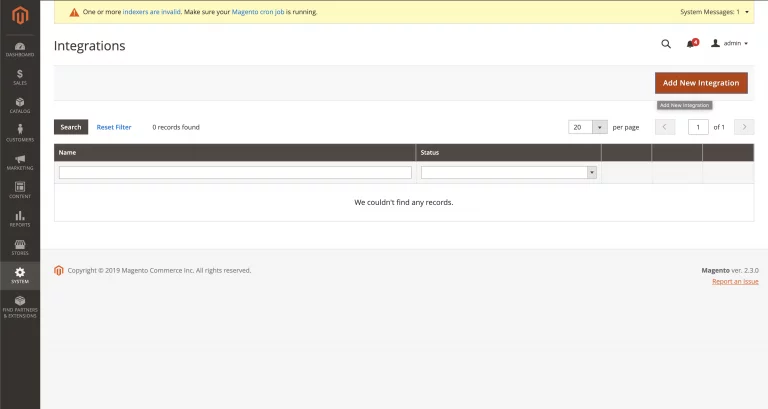
– Go to System > Integrations

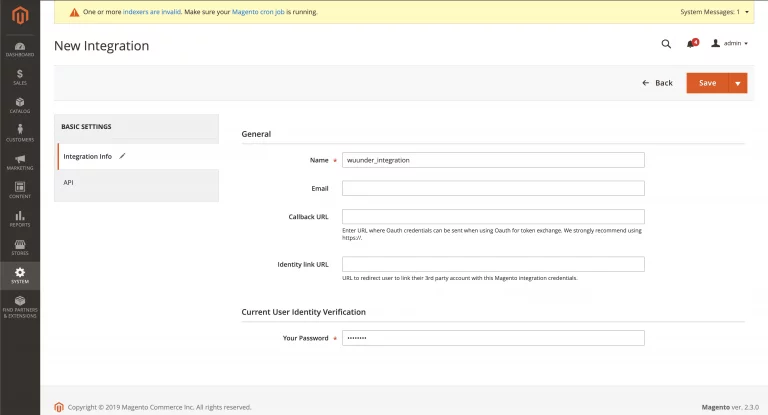
– Click on the button: 'Add New Integration'

– Enter the name in the newly opened screen: 'Wuunder'

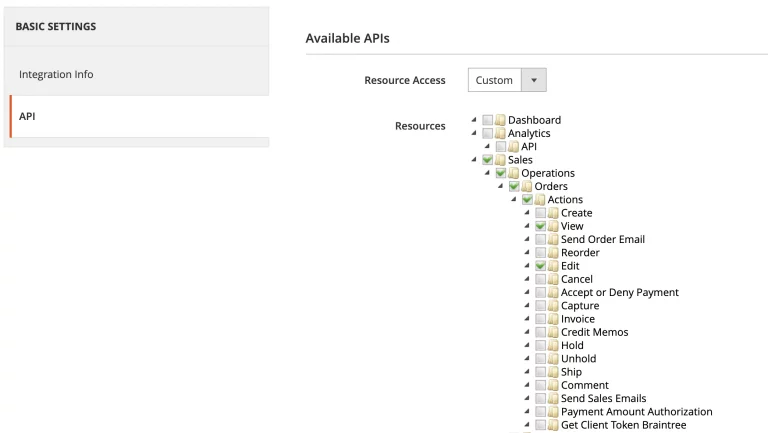
– Then press API and choose 'All' in the drop-down menu

– After creating the integration, click on 'Activate'

Press 'Allow' in the next screen to create token.

– Copy 'Access Token' and send it to [email protected] Our Customer Service will then get to work to activate your account.