


Simply connect PrestaShop
Using the following information, you can easily link PrestaShop and get started immediately with sending your products via Wuunder. At the touch of a button you can send documents, parcels and pallets with the most suitable carrier. Would you like to receive more information first? Then read here further, and contact me if you are interested.
prestashop shipping module
- The PrestaShop module is suitable for version 1.6 & 1.7.7. Are you working with a different version or is the link not working? Then please contact us customer service.
- Wuunder has a test and production environment so that you can properly test the operation of your shop before going live. Sign up through this link.
- If you see opportunities for improvement, you can let us know via GitHub.
- Make a backup of your webshop and download the Prestashop plug-in from the Prestashop addons marketplace.
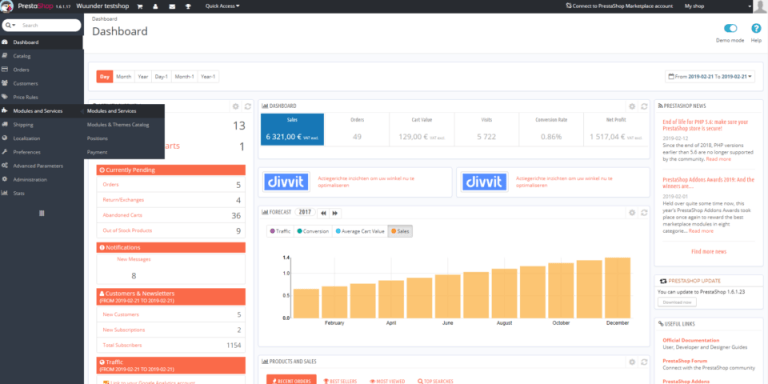
- Go to your PrestaShop dashboard and click on “Modules and Services” on the left side of the screen. Then select “Add a new module” on the right and top of your screen.
- Then choose “Choose a file” and navigate to the location where you saved the Wuunder shipping module. Then click to upload the module. You will now see that the “module was successfully downloaded”.
- Now find the Wuunder shipping module and click on “Install”.
- We have two methods for booking a shipping label with a carrier. Per piece or in bulk.
Prestashop configuration
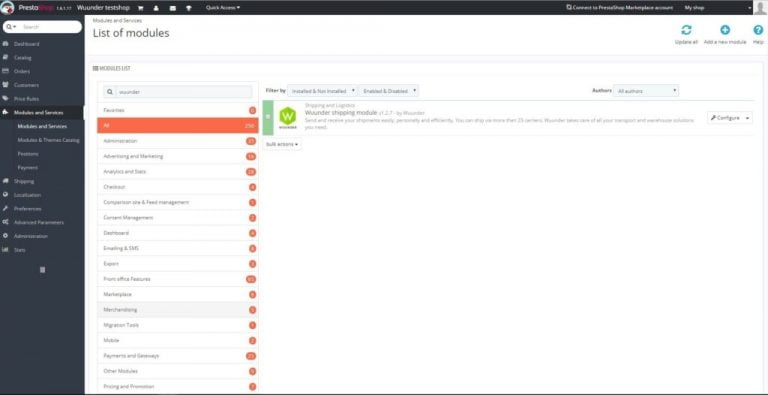
Step 2 - Then scroll a little bit down to the cup "Modules list" sees. There you will see a search bar, enter “Wuunder” here. As soon as you have done this, you will immediately see the Wuunder plugin. Click on “Configure” behind the plugin.
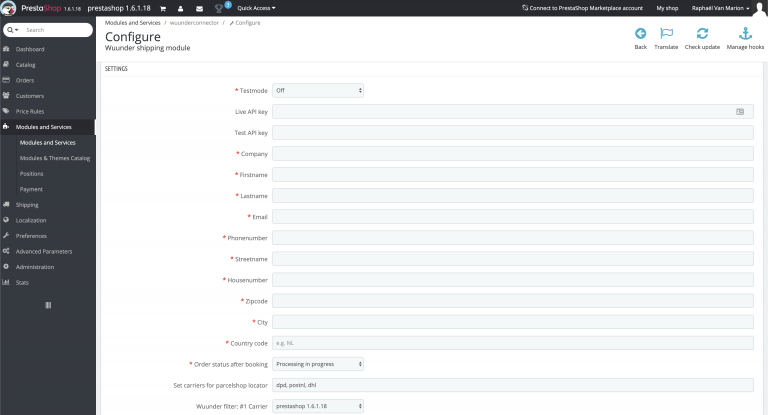
Step 3 - If you do not intend to test, select “Off” in the “Test mode” field. In the field Live API Key you fill the production API key in and in the field Test API Key you fill the staging API key in the one you got from Wuunder. Have you not yet received an API Key? Then send one e-mail.
Step 4 - Enter your company details as soon as this is successful.
- Provide the company name and address where the shipments are to be collected by the carrier (s). The information you enter here will be visible on the shipping label, so that the driver of the carrier knows where the shipments must be picked up and delivered (returns).
- The email address you use here will also receive all the labels you create. This can be, for example, the email address of the warehouse that prepares the shipments.
- Select what status you want to give to an order after you create a shipping label. For example, in the example we choose 'delivered'.
- After you have booked a shipment with Wuunder, we automatically update the status of your order in Prestashop. You can determine the status after booking yourself via the drop-down menu “Order status after booking”. Usually shops choose the status “Sent”.
Step 5 - If you want to give the customer the option to send shipments directly to a parcelshop, then enter the carriers you want to use at “Set carriers for parcelshop locator”. Write the carriers one after the other and connect them with a comma: “PostNL, DHL_Parcel, DPD”. Look here for the spelling of the carriers. Customers can then choose the nearest parcel shop where they will have the shipment delivered. In the check-out we show not only the location but also the opening hours. Very easy!
Step 6 - Via the dropdown behind “Wuunder filter: # 1 Carrier” you can select which options you give your customer in the check-out. For example, you choose the parcelshop locator, pick it up at your own location or a carrier.
Step 7 - At “Wuunder filter: Filter” you can then also register services. Do you want to know which services you can use? Then click on this link.
Step 8 - When all data has been changed, click on “Save” at the bottom right of the screen.
Step 9 - The plugin is now configured! Now go to your shop and test if everything is still working properly. PrestaShop is an open source platform, so it can sometimes happen that the plug-in conflicts with already installed plug-ins. If you do not need the other plug-ins, it is best to remove them.
Please note!
Our plug-in is made on the basis of the standard check-out page of the webshop environment. As a result, when changes are made and / or a plug-in is used for the check-out, our plug-in no longer functions properly. So keep this in mind if the standard check-out page has been adjusted or a completely different one is used.
Have your customer send a shipment directly to a parcel shop
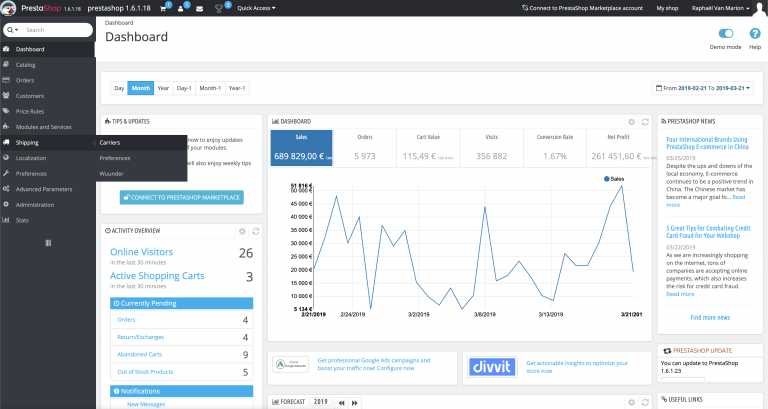
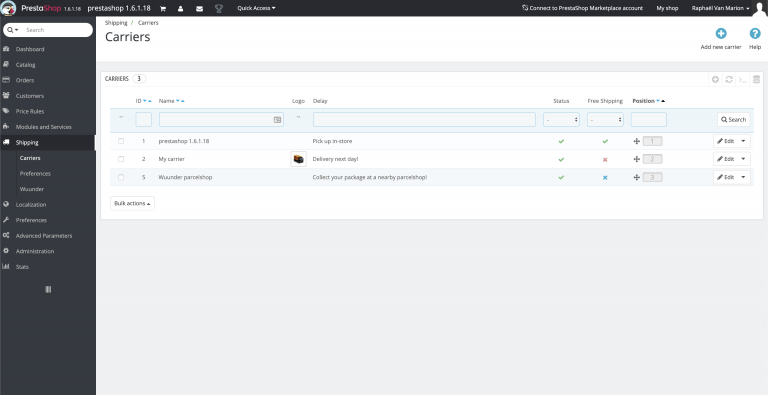
Step 1 - In your PrestaShop dashboard, go to “Shipping” on the left side of the screen and click on “Carriers”.
Step 2 - Click in the column “Free Shipping” behind “Wuunder parcelshop” on the red cross to turn it on.
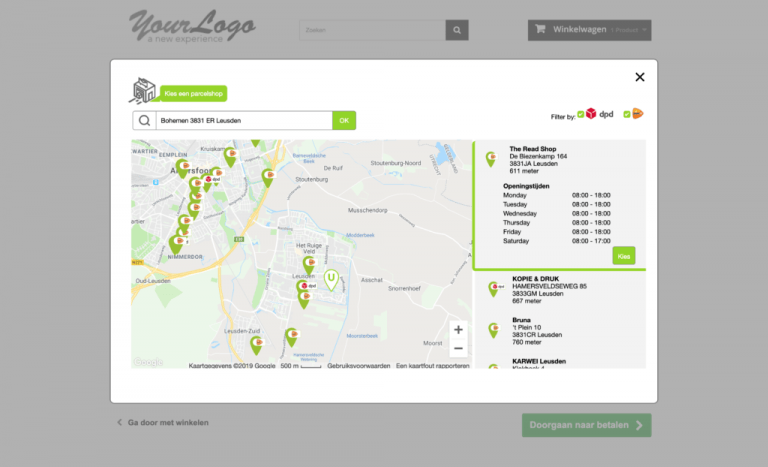
Step 3 - Tadaaa! This is what the parcelshop picker looks like in the checkout!
Send orders via prestashop
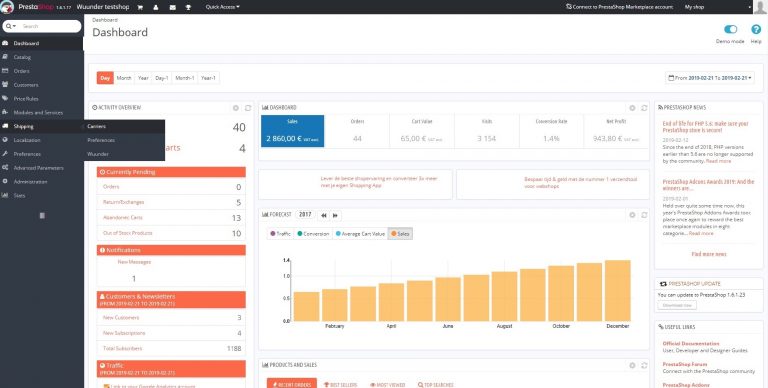
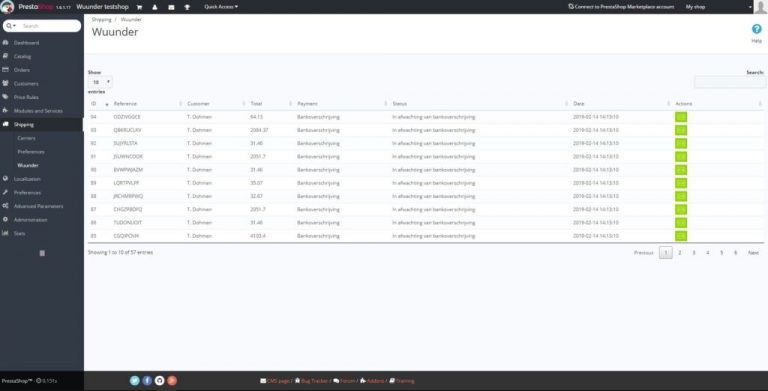
Step 1 - On your PrestaShop dashboard, move your mouse to “Shipping” and select “Wuunder”.
Step 2 - Click behind an order on the green icon under “Actions”. You can only generate shipping labels for shipments you create after installing the plug-in. Send all old orders by re-creating an order in PrestaShop or booking them via MyWuunder. If you are still testing the module then you read here more about the test environments.
Step 3 - After this, we check your submitted data and you can book the shipment. Read here More.
Step 4 - You will then return to the Prestashop order overview.
Step 5 - You can then print the shipping label directly from your shop. Would you like more information about quickly printing your shipping labels or printing a shipping label by scanning a packing slip? Then click here. Return a shipment? This is very easy. Read more through this link.
Step 6 - By clicking on the green Track & trace icon in the Prestashop order overview you can also follow the shipment. In MyWuunder you can easily see the latest status of each shipment and you can quickly identify possible issues.
Automated booking many orders at the same time with Prestashop
Did you know?
You can also use Wuunder without installing our integration / plugin. You can do this through the following steps. Please remember that you cannot use our check-out and parcel shop locator.
1. You can book each order manually (see previous paragraph) or all open orders at the same time (Bulk book). For Bulk booking, go to the Settings menu of MyWuunder (green dropdown menu). Here you set a “default service”, volume and weight if this data is not received via StoreSync. read here more about these default values.
2. Then you register your webshop with Wuunder and go through a number of steps. Click on the next link to register your webshop.

3. Then you need an API key. These can be found in the “Configure” menu on the left side of Prestashop. Here, select “Advanced parameters” and then “Web service. Then click (top right) on the blue button “Add new webservice key”. Generate an API key and select access to all parts of the website. Copy the API key and save the page. Send the API key to [email protected] and we ensure that your webshop is linked.

4. Now you have created the Prestashop integration! If you want to connect multiple shops, repeat these steps until all shops are linked.
5. Wuunder activates the integration and will contact you as soon as you can start booking your shipments.
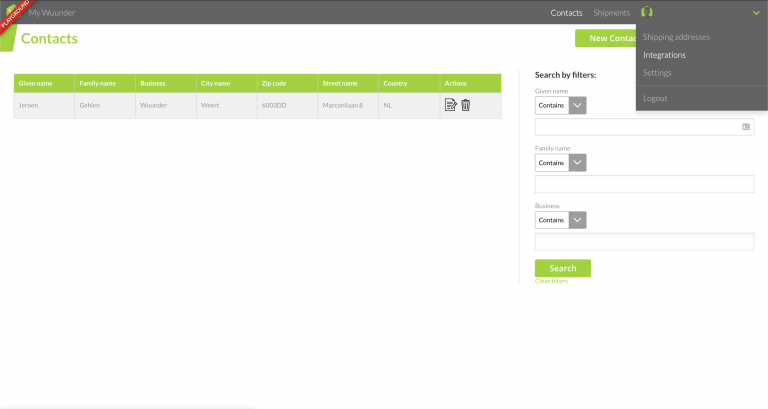
6. Then go to the top gray bar Shipments overview and select "Book". This is the place where you can book all your new shipments.
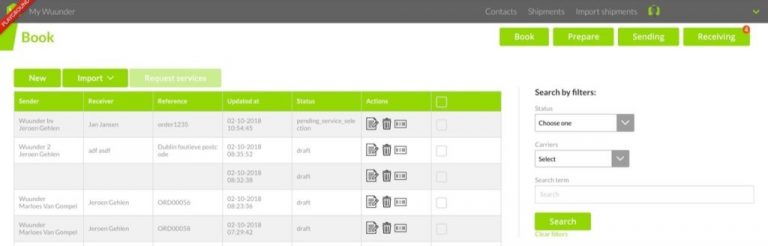
8. Select “Import” and then the desired “Prestashop” shop.
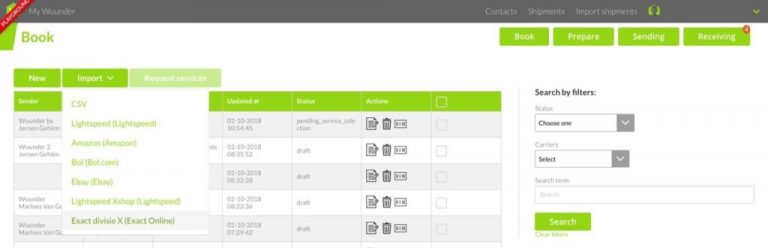
7. You now have two choices (dropdown menu in the green button):
- Import all orders as a concept: You import all orders and then book them all at once of per Unit.
- Import and book all orders automatically: You import and book all orders at once. The latter option is particularly interesting if you are using import rules en shipping rules works.

- More information about the checks we perform and possible error messages such as the lack of a collection address can be found via this one link.
- After you have booked an order in MyWuunder, we will update the status in Prestashop. This means that your order overview in your shop is always up-to-date. We also update your order details in your shop with the shipment number, the track & trace URL and the name of the carrier. This means that your order overview in your shop is always up-to-date. Systems like for example Channable of Channel engine of justfeed can also use this data again.
- An overview of all booked shipments can be found in the "Book" overview. Here you can, for example, also copy the details of a booked shipment to send another shipment. An overview of all shipping labels can be found in the "To prepare" overview.
- If you want to print all shipping labels quickly, you will find here all info.
- By clicking on the green Track & trace icon in the order overview of Prestashop you can also track the shipment afterwards. In MyWuunder you can easily see the latest status of each shipment and you can quickly identify possible issues.
- Return a shipment? This is very easy. Read more through this link.
Contents manual
Action buttons
Use the action buttons in your order overview of Woocommerce to work more efficiently. You can easily book, print and track shipments via the action buttons:
Status
Icon
More information
Books

If you click on this icon you will enter MyWuunder where you can book the shipment directly.
Booking started

Your shipment has been sent to MyWuunder via bulk books. In the draft environment of MyWuunder, the order is ready to be booked.

You can print in various ways and of course also in your shop environment itself. If you press this button, you print the shipping label associated with the order.
Follow

You can go directly to the carrier's page to track a shipment from your shop. It is even easier to track a shipment via the "Send overview" in MyWuunder.
