

Je bol.com orders importeren en synchroniseren
Je Bol.com orders importeren naar Wuunder is vrij gemakkelijk omdat je niets hoeft te installeren. Met een druk op de knop kun je alle orders als document, pakket of pallet versturen met de meest geschikte vervoerder. Nadat je de orders hebt geboekt sturen we een update naar Bol.com met de track & trace informatie en de gekozen vervoerder. Volg de korte handleiding en binnen een paar minuten heb je dit geregeld voor één of meerdere online shops (multishops). Lukt het koppelen niet? Neem dan even contact op met onze klantenservice. Je kunt zendingen boeken op je eigen transport contract, het contract van Wuunder of via “verzenden via Bol.com”.

Bol.com storesync
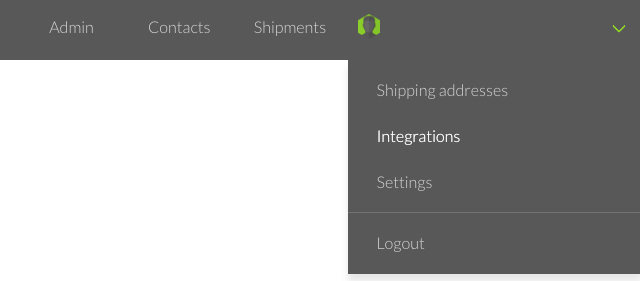
1. Ga naar het Settings menu van MyWuunder (groene dropdown menu). Hier stel je een “default service”, volume, waarde en gewicht in. Deze gegevens worden namelijk niet door Bol.com doorgezonden. Lees hier meer over deze standaard waarden. Let op: als je dit niet instelt dan moet je deze gegevens voor iedere order handmatig toevoegen.
2. Geef een standaard ophaaladres aan zodat dit automatisch wordt toegevoegd aan elke order via de volgende link. Gebruik geen e-mail adres, in het ophaal adres, als je geen verzendlabel per e-mail wilt ontvangen.
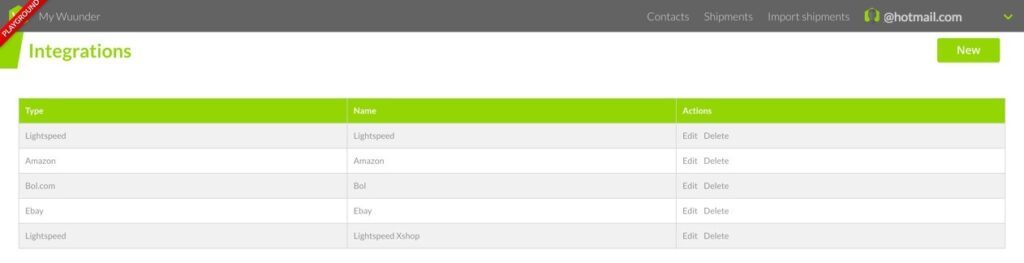
3. Daarna ga je naar het Integrations overzicht in de grijze balk. Selecteer “New”.
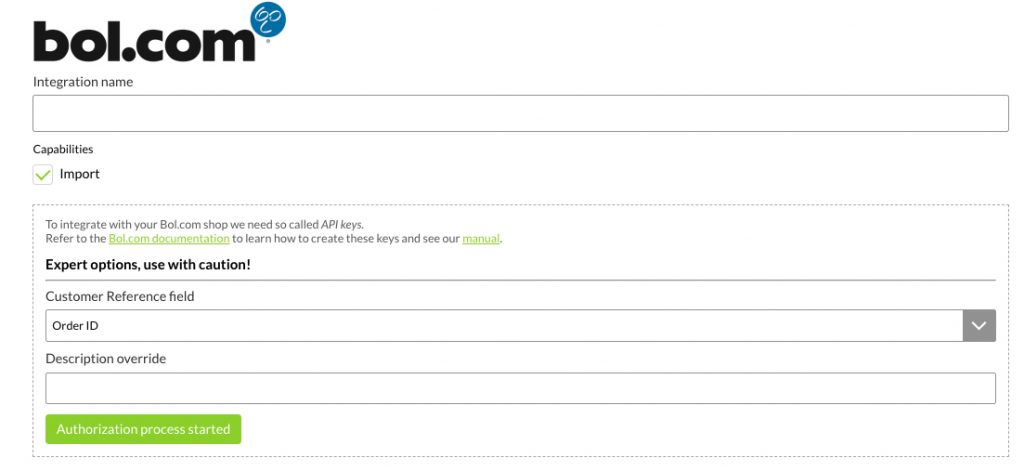
4. Daarna selecteer je “Bol.com”
5. Je kunt nu de Integratie een naam geven zodat je later weet welke gegevens je gaat importeren. Klik nu op “Authorization process started”
6. Wanneer je dit doet, word je doorgestuurd naar het inlogscherm van Bol.com. Vul hier je e-mailadres en wachtwoord van je Bol.com verkopersaccount in.
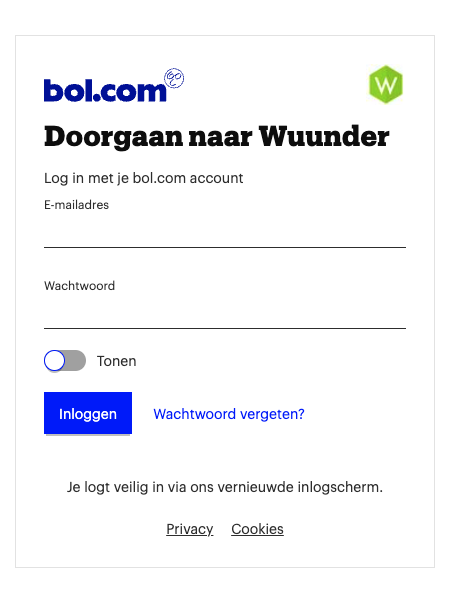
7. Hierna krijgt je een scherm te zien waarin je wordt gevraagd om de koppeling van je account met Wuunder goed te keuren.
8. Hierna word je doorgestuurd naar MyWuunder en wordt de integratie gemaakt en kunnen de bestellingen worden geïmporteerd.

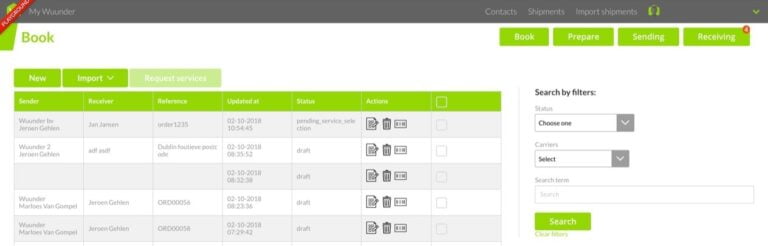
9. Daarna ga je via de bovenste grijze balk naar het “Shipments” overzicht en selecteer je “Book”. Dit is de plaats waar je al je nieuwe zendingen kunt boeken.
10. Wil je meerdere shops aansluiten dan herhaal je deze stappen (vanaf stap 2) net zolang totdat alle shops gekoppeld zijn.
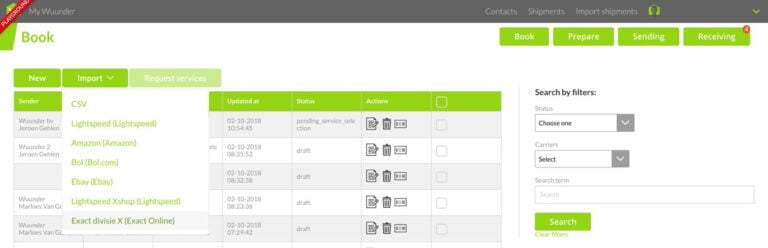
11. Selecteer “Import” en daarna de gewenste “Bol.com” shop.
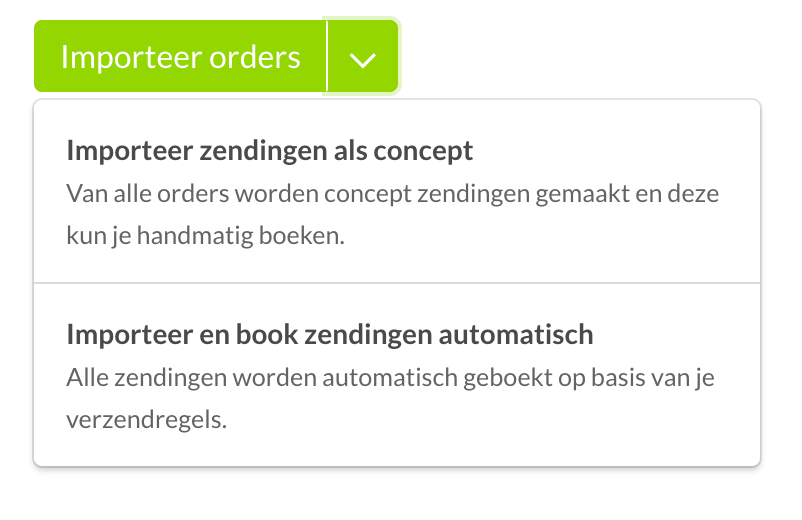
12. Je hebt nu twee keuzes (dropdown menu in de groene knop):
- Importeer alle orders als concept: Je importeert alle orders en daarna boek je ze allemaal in één keer of per stuk.
- Importeer en boek alle orders automatisch: Je importeert en boekt alle orders in één keer. Deze laatste optie is met name interessant als je met importregels en verzendregels werkt.
- Op deze pagina zie je ook een overzicht met alle recente imports. Handig om te checken wanneer je de laatste keer Bol.com orders hebt geïmporteerd. Je ziet hier ook het aantal orders wat we importeren. Zo kun je zelf checken of alles helemaal goed gaat.
- Het importeren doen we op de achtergrond zodat je direct verder kunt. Ververs af en toe de pagina zodat je de laatste geïmporteerde orders en/of geboekte zendingen ziet.
- Meer informatie over de checks die we uitvoeren en mogelijke foutmeldingen zoals het ontbreken van een ophaaladres vind je via deze link.
- Een overzicht van alle geboekte zendingen vind je in het “Boek” overzicht. Hier kun je bijvoorbeeld ook de gegevens van een geboekte zending kopiëren om nog een zending te versturen. Een overzicht van alle verzendlabels vind je in het “Voorbereiden” overzicht.
- Zodra je de zendingen hebt geboekt updaten we je shop. Hierdoor hou je de controle over welke orders je nog moet verwerken.
- Wil je alle verzendlabels snel printen dan vind je hier alle info.